
A far more detailed explanation is here . . .
... and the primary Trapping documentation is here.
_______________________________________________________________________________________________________________________________
What these settings do
Trap Direction = Always to Darkest
This setting controls which side receives the trap. The trap is placed into the darker object. It does not decide whether the trap is allowed.
Minimum Color Difference
This setting controls how different two touching colors must be before a trap is created. Lower values allow more edges to qualify. Higher values are more selective.
Visible Limit
This setting controls whether a trap is considered acceptable or too visible. It does not decide trap direction, and it does not decide which edges qualify in the first place.
This example uses Trap Direction = Always to Darkest and Visible Limit = 55%. In this sample file, Minimum Color Difference 5% through 50% give the same trapping result. The first real change happens at Minimum Color Difference 55%.
Full view of the sample file (attached to this article

Example 1: edge that still traps
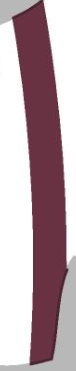
Area B: 195 touching Black
- 50% Minimum Color Difference
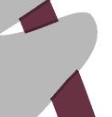

- 55% Minimum Color Difference
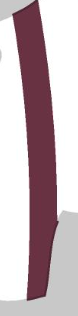


Notice: The trap is present at both 50% and 55% minimum color difference.
195 touching Black: trap present at 50% and 55%.
Example 2: edge that drops out
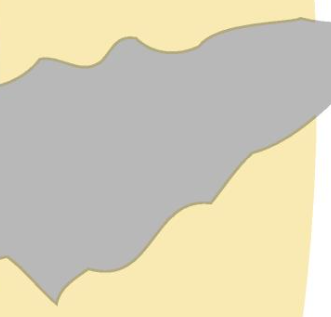
Area D: 121 at 50% touching Black
- 50% Minimum Color Difference


- 55% Minimum Color Difference


Notice: The trap is present at 50%, but gone at 55%. This is one of the pairs that drops out once the minimum color difference goes above 50%.
121 at 50% touching Black: trap present at 50% minimum color difference, gone at 55% minimum color difference.
Takeaway
For this sample file:
- 5% to 50% looks the same
- 55% is the breakpoint
- 195 touching Black still traps
- 121 at 50% touching Black does not